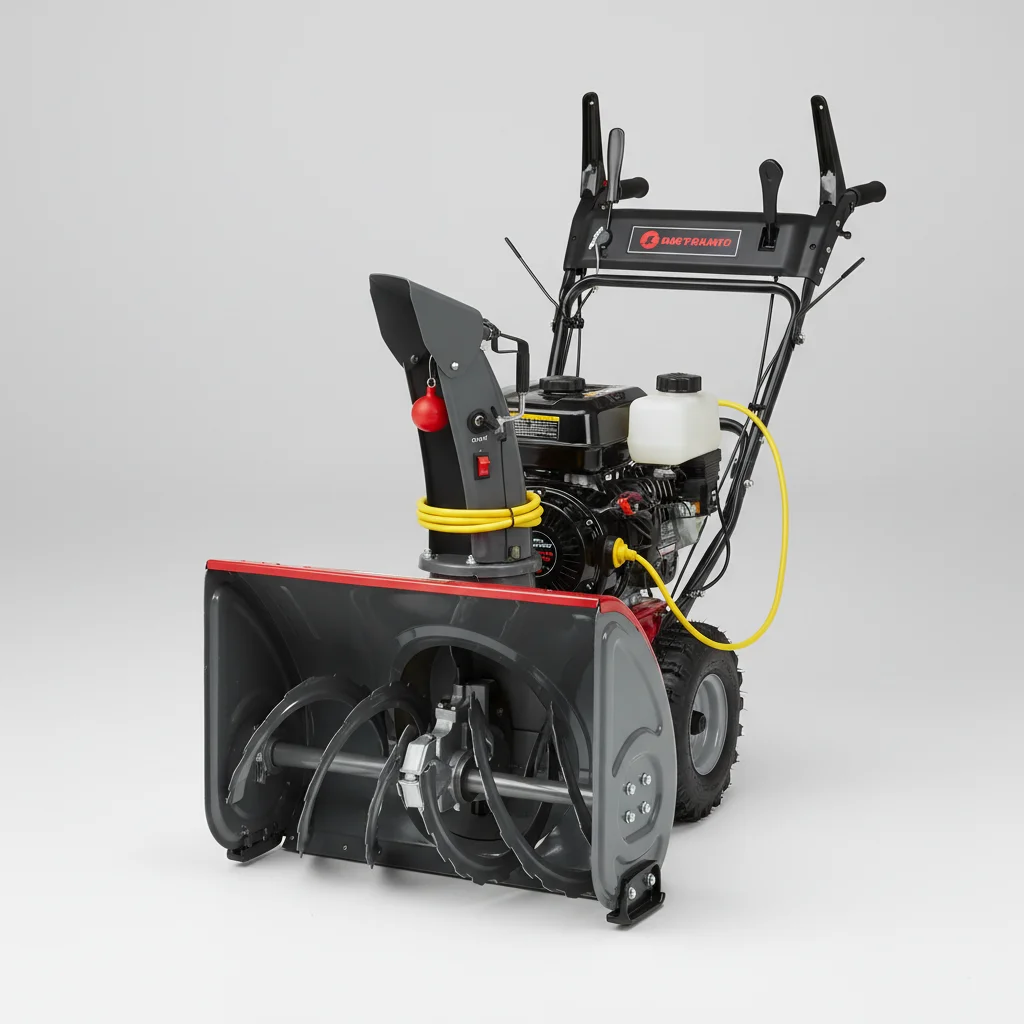
Starting a snow blower can seem daunting, especially on a cold winter morning. However, with the right approach, you can get your machine running smoothly in just five simple steps. This guide will walk you through the process, ensuring your snow blower is ready to tackle the snow efficiently and safely.
1. Check Fuel and Oil Levels
Before attempting to start your snow blower, always verify that both the fuel tank and oil reservoir are adequately filled. For gasoline models, use fresh, clean gasoline with an octane rating of 87 or higher. Avoid using old or stale fuel, as it can cause starting issues and damage the engine. For oil, consult your owner’s manual for the recommended type and ensure it’s at the proper level on the dipstick. Low oil can lead to serious engine damage.
2. Prime the Engine
Most snow blowers have a primer bulb, which helps to introduce fuel into the carburetor for easier starting. Typically, you’ll need to press the primer bulb 3-5 times. If your snow blower has been sitting for a while or it’s extremely cold, you might need an extra pump or two. Over-priming can flood the engine, making it harder to start, so follow your manufacturer’s recommendations.
3. Set the Choke and Throttle
The choke lever restricts airflow to create a richer fuel-to-air mixture, which is essential for starting a cold engine. Move the choke lever to the ‘Full Choke’ or ‘Start’ position. Next, set the throttle to the ‘Fast’ or ‘Run’ position. This ensures the engine receives enough fuel and air to ignite properly. Once the engine starts and runs for a few seconds, you can gradually move the choke to the ‘Run’ position.
4. Engage the Starter
|
Our Picks for the Best Snow Blower in 2026
As an Amazon Associate I earn from qualifying purchases.
|
||
| Num | Product | Action |
|---|---|---|
| 1 | Cordless Snow Blower(No Battery), Compatible with Dewalt 20V Max Battery, 20" Brushless Snow Thrower with Directional Plate & LED Lights, Electric Snow Blower Ideal for Walkways and Driveways |

|
| 2 | Brushless Cordless Electric Snow Shovel for use with Makita 21V Battery, 12” Snow Thrower with Adjustable Direction, Lightweight Snow Removal Tool for Driveway,Patio,Walkways |
|
| 3 | EWORK Corded Snow Shovel 11-Inch 1200W 10A Powerful Electric Snow Shovels, 6-Inch Clearing Depth, 23-Foot Max Throw Distance, Power Snow Blower for Driveway, Steps, Sidewalk, Porch |
|
| 4 | VOLTASK Cordless Snow Shovel, 48V | 13.5-Inch Cordless Snow Blower, Battery Snow Blower with Directional Plate (2 * 24V Battery & Dual Quick Charger Included) |
|
| 5 | SuperHandy Electric Snow Thrower Adjustable Angle 17" Clearing Width 5.7" Intake Height 23' ft Throw Curved Serrated Blade 48V-2Ah Battery Portable Wheels Easy Maneuver Safety Switches Comfort Handle |
|
| 6 | SuperHandy Electric Snow Thrower Walk-Behind Blower Corded AC 120V 15A 18 x 10 Inch Clearing Path 25 Feet Throwing Distance 720 lbs/Min LED Headlights for Driveway Walking Path Yards |
|
| 7 | EGO Power+ Electric Snow Shovel Attachment, Use with Cordless Power Head Multi-Head System, Battery, Charger and Power Head Not Included - SSA1200 |
|
| 8 | EGO Power+ SNT2110 Peak Power 21-Inch 56-Volt Cordless Snow Blower with Steel Auger Battery and Charger Not Included,Black |
|
| 9 | Westinghouse WSnow11S AC Corded Electric Snow Shovel, 11-inches Wide with 20 ft. Throwing Distance, Plows 300 lbs/min for Driveway/Steps/Sidewalk/Porch |
|
| 10 | Westinghouse WSnow13S AC Corded Electric Snow Shovel, 13-inches Wide with 20 ft. Throwing Distance, Plows 300 lbs/min for Driveway/Steps/Sidewalk/Porch |
|
There are two primary ways to start a snow blower: a pull cord or an electric starter. If using a pull cord, grasp the handle firmly and pull it with a strong, steady motion until you feel resistance, then give a quick, firm pull. Avoid yanking the cord all the way out. For electric start models, simply plug the snow blower into an outdoor extension cord and press the start button. Hold the button down until the engine starts, usually within a few seconds.
5. Warm Up and Adjust
Once the engine starts, allow it to warm up for a few minutes. This helps the engine components reach optimal operating temperature and ensures smooth performance. During this warm-up period, gradually move the choke lever from ‘Full Choke’ to ‘Run.’ If the engine sputters or stalls, move the choke back slightly until it runs smoothly, then try again. After warming up, you can begin clearing snow. Remember to always wear appropriate safety gear, including eye protection and sturdy footwear.
Troubleshooting Common Starting Issues
If your snow blower still won’t start, consider these common problems:
- Stale Fuel: Drain old fuel and refill with fresh gasoline.
- Spark Plug: Check the spark plug for fouling or damage; clean or replace if necessary.
- Fuel Filter: A clogged fuel filter can restrict fuel flow; replace if dirty.
- Carburetor Issues: A dirty or clogged carburetor may require cleaning or professional service.
- Shear Pins: While not directly related to starting, ensure shear pins are intact to prevent engine strain.
Regular maintenance, including proper storage and seasonal tune-ups, can significantly reduce starting problems. Always refer to your snow blower’s owner’s manual for specific instructions and safety guidelines.
