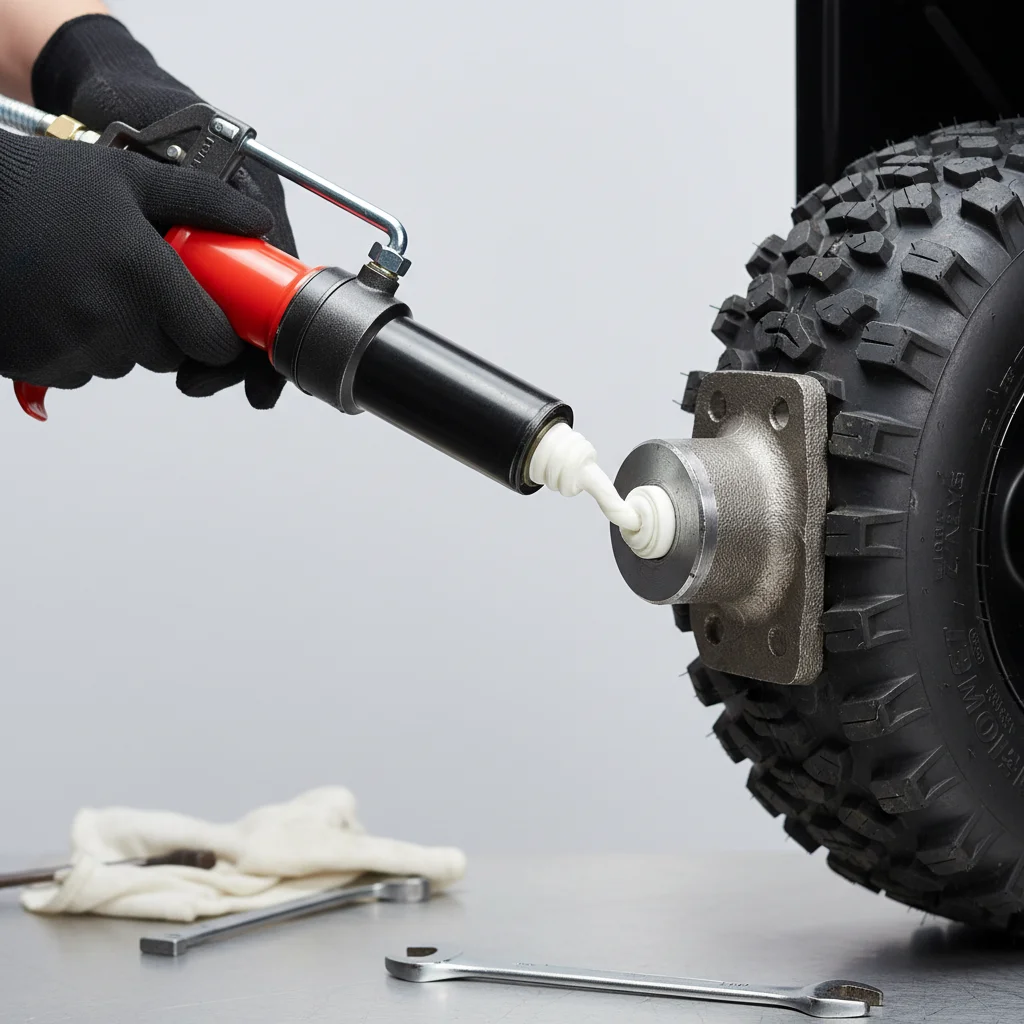
Greasing your snow blower’s axle is a crucial maintenance step that should be performed once a year, ideally before the start of the winter season. This simple task ensures smooth operation of your wheels or tracks, prevents rust, and extends the lifespan of your machine. Neglecting this can lead to seized wheels, difficult maneuvering, and costly repairs down the line.
Why Axle Greasing is Essential for Your Snow Blower
The axle on your snow blower is subjected to harsh conditions, including moisture, road salt, and extreme cold. Without proper lubrication, these elements can cause corrosion and friction, leading to the wheels or tracks becoming stiff or even seizing up entirely. Regular greasing creates a protective barrier, allowing the components to move freely and reducing wear and tear.
Properly greased axles also contribute to easier steering and control, making your snow-clearing tasks less strenuous. It’s a small investment of time that yields significant benefits in performance and longevity.
Identifying the Grease Points on Your Snow Blower Axle
Most snow blowers have grease zerks (fittings) located on or near the axle, often behind the wheels or tracks. Consult your owner’s manual for the exact locations, as they can vary by model. Typically, you’ll find one zerk for each wheel or track assembly. Some older models might require you to remove the wheels to access the axle shaft directly for manual greasing.
Before applying grease, always clean the area around the zerk fittings to prevent dirt and debris from being pushed into the bearings. A clean rag and a wire brush can be effective for this.
The Right Grease and Tools for the Job
|
Our Picks for the Best Snow Blower in 2026
As an Amazon Associate I earn from qualifying purchases.
|
||
| Num | Product | Action |
|---|---|---|
| 1 | SuperHandy Electric Snow Thrower Adjustable Angle 17" Clearing Width 5.7" Intake Height 23' ft Throw Curved Serrated Blade 48V-2Ah Battery Portable Wheels Easy Maneuver Safety Switches Comfort Handle |

|
| 2 | Westinghouse WSnow11S AC Corded Electric Snow Shovel, 11-inches Wide with 20 ft. Throwing Distance, Plows 300 lbs/min for Driveway/Steps/Sidewalk/Porch |
|
| 3 | EWORK Corded Snow Shovel 11-Inch 1200W 10A Powerful Electric Snow Shovels, 6-Inch Clearing Depth, 23-Foot Max Throw Distance, Power Snow Blower for Driveway, Steps, Sidewalk, Porch |
|
| 4 | Westinghouse WSnow13S AC Corded Electric Snow Shovel, 13-inches Wide with 20 ft. Throwing Distance, Plows 300 lbs/min for Driveway/Steps/Sidewalk/Porch |
|
| 5 | Cordless Snow Blower(No Battery), Compatible with Dewalt 20V Max Battery, 20" Brushless Snow Thrower with Directional Plate & LED Lights, Electric Snow Blower Ideal for Walkways and Driveways |
|
| 6 | SuperHandy Electric Snow Thrower Walk-Behind Blower Corded AC 120V 15A 18 x 10 Inch Clearing Path 25 Feet Throwing Distance 720 lbs/Min LED Headlights for Driveway Walking Path Yards |
|
| 7 | EGO Power+ SNT2110 Peak Power 21-Inch 56-Volt Cordless Snow Blower with Steel Auger Battery and Charger Not Included,Black |
|
| 8 | EGO Power+ Electric Snow Shovel Attachment, Use with Cordless Power Head Multi-Head System, Battery, Charger and Power Head Not Included - SSA1200 |
|
| 9 | Brushless Cordless Electric Snow Shovel for use with Makita 21V Battery, 12” Snow Thrower with Adjustable Direction, Lightweight Snow Removal Tool for Driveway,Patio,Walkways |
|
| 10 | VOLTASK Cordless Snow Shovel, 48V | 13.5-Inch Cordless Snow Blower, Battery Snow Blower with Directional Plate (2 * 24V Battery & Dual Quick Charger Included) |
|
For snow blower axles, a good quality lithium-based grease is generally recommended. This type of grease offers excellent water resistance and performs well in cold temperatures. Avoid using general-purpose oil or thin lubricants, as they won’t provide adequate protection or adhesion.
- Grease gun (manual or battery-powered)
- Lithium-based grease cartridge
- Clean rags
- Wire brush (optional, for cleaning)
- Wrench or socket set (if wheel removal is necessary)
Ensure your grease gun is in good working order and that the nozzle fits snugly onto the zerk fittings to prevent grease from leaking out during application.
Step-by-Step Guide to Greasing Your Snow Blower Axle
The process of greasing your snow blower axle is straightforward and can be completed in under 30 minutes. Always ensure the snow blower is turned off, the spark plug wire is disconnected (for gas models), and the machine is stable before you begin.
First, locate the grease zerks. If your model requires wheel removal, carefully lift the front of the snow blower and secure it with jack stands. Remove the wheels according to your manual’s instructions. Once the zerks are clean, attach the grease gun nozzle firmly. Pump grease into the fitting until you see fresh grease extruding from around the bearing or until the wheel spins freely with minimal resistance. Do not over-grease, as this can sometimes force seals out of place. Reattach the wheels if removed, and lower the snow blower.
When to Consider Professional Snow Blower Axle Service
While greasing the axle is a DIY-friendly task, there are instances when professional help might be beneficial. If your wheels are completely seized, if you notice unusual noises coming from the axle area, or if you’re uncomfortable performing the maintenance yourself, a qualified technician can diagnose and fix the issue. They can also inspect other critical components of your snow blower to ensure it’s ready for winter.
Regular professional servicing can catch potential problems early, saving you from more extensive repairs later.Consider scheduling an annual tune-up to keep your machine in peak condition.
