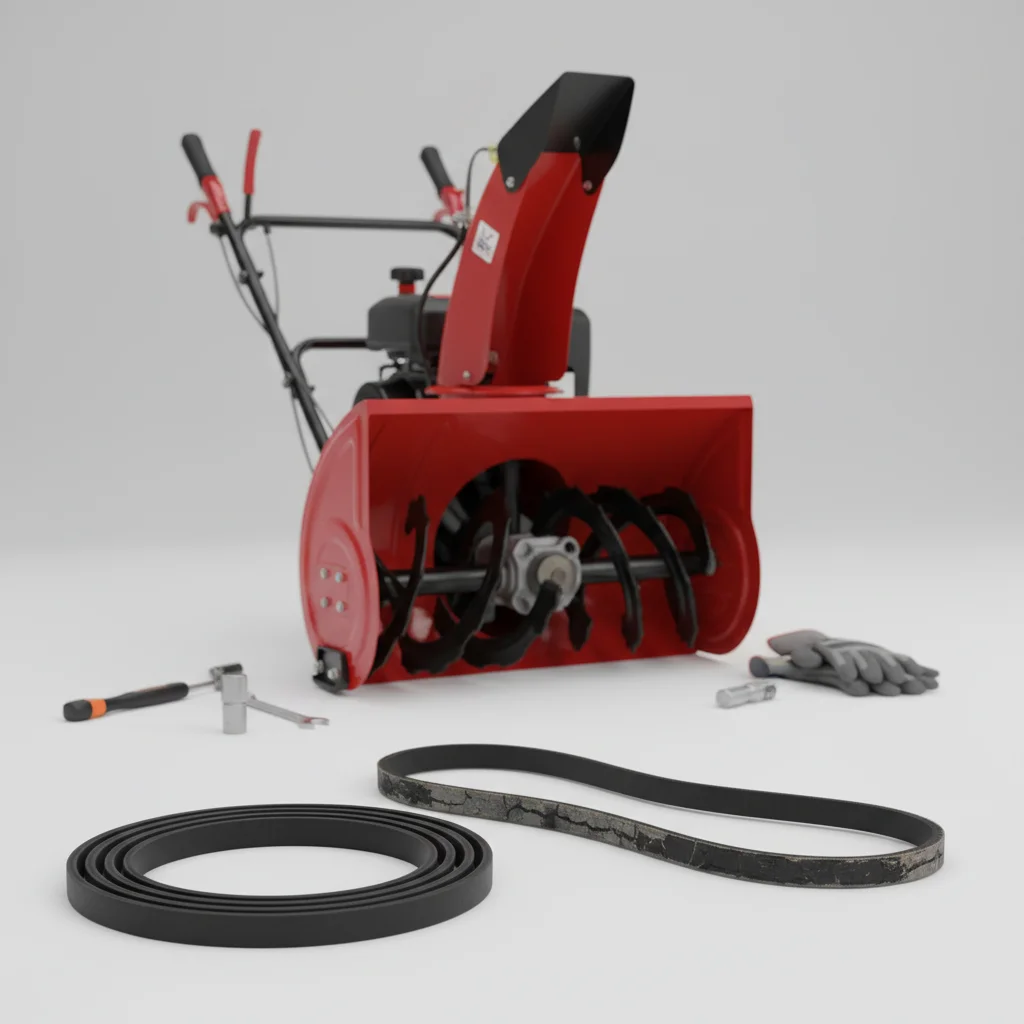
Knowing when to replace your snow blower belt is crucial for maintaining optimal performance and preventing unexpected breakdowns. Generally, you should consider replacing your snow blower belt every 2-3 years, or sooner if you notice specific signs of wear and tear. A worn belt can significantly reduce your machine’s efficiency, leading to incomplete snow removal and increased strain on the engine. Proactive replacement ensures your snow blower is always ready for winter’s challenges.
Signs Your Snow Blower Belt Needs Replacement
Several indicators suggest your snow blower belt is nearing the end of its lifespan. One of the most common signs is a noticeable loss of power or a decrease in the auger’s or impeller’s rotation speed, even when the engine is running at full throttle. You might also observe the belt slipping, especially under load, which can manifest as a squealing sound. Visually inspect the belt for cracks, fraying, glazing, or any signs of stretching. A belt that feels loose or has visible damage is a prime candidate for replacement.
Another subtle sign is an increase in vibration or unusual noises coming from the belt housing. While these could indicate other issues, a failing belt often contributes to such symptoms. If your snow blower struggles to throw snow as far or as effectively as it once did, even after checking for clogs, a worn belt is a likely culprit. Addressing these signs early can prevent more extensive damage to your snow blower’s components.
Choosing the Right Replacement Belt
Selecting the correct replacement belt is vital for proper function and longevity. Always refer to your snow blower’s owner’s manual for the exact specifications, including belt type, length, and width. Using an incorrect belt can lead to poor performance, premature wear, and potential damage to the pulley system. Many manufacturers offer OEM (Original Equipment Manufacturer) belts specifically designed for their models, which are often the best choice for guaranteed compatibility and durability.
When purchasing a replacement, consider the material and construction. High-quality belts are typically made from durable rubber compounds reinforced with synthetic fibers, offering better resistance to stretching, heat, and wear. Avoid generic or low-cost belts that may not meet the necessary specifications, as they often fail prematurely. Investing in a good quality belt will save you time and frustration in the long run.
Step-by-Step Guide to Replacing Your Snow Blower Belt
|
Our Picks for the Best Snow Blower in 2026
As an Amazon Associate I earn from qualifying purchases.
|
||
| Num | Product | Action |
|---|---|---|
| 1 | Brushless Cordless Electric Snow Shovel for use with Makita 21V Battery, 12” Snow Thrower with Adjustable Direction, Lightweight Snow Removal Tool for Driveway,Patio,Walkways |

|
| 2 | EGO Power+ Electric Snow Shovel Attachment, Use with Cordless Power Head Multi-Head System, Battery, Charger and Power Head Not Included - SSA1200 |
|
| 3 | VOLTASK Cordless Snow Shovel, 48V | 13.5-Inch Cordless Snow Blower, Battery Snow Blower with Directional Plate (2 * 24V Battery & Dual Quick Charger Included) |
|
| 4 | Cordless Snow Blower(No Battery), Compatible with Dewalt 20V Max Battery, 20" Brushless Snow Thrower with Directional Plate & LED Lights, Electric Snow Blower Ideal for Walkways and Driveways |
|
| 5 | EGO Power+ SNT2110 Peak Power 21-Inch 56-Volt Cordless Snow Blower with Steel Auger Battery and Charger Not Included,Black |
|
| 6 | SuperHandy Electric Snow Thrower Adjustable Angle 17" Clearing Width 5.7" Intake Height 23' ft Throw Curved Serrated Blade 48V-2Ah Battery Portable Wheels Easy Maneuver Safety Switches Comfort Handle |
|
| 7 | Westinghouse WSnow11S AC Corded Electric Snow Shovel, 11-inches Wide with 20 ft. Throwing Distance, Plows 300 lbs/min for Driveway/Steps/Sidewalk/Porch |
|
| 8 | Westinghouse WSnow13S AC Corded Electric Snow Shovel, 13-inches Wide with 20 ft. Throwing Distance, Plows 300 lbs/min for Driveway/Steps/Sidewalk/Porch |
|
| 9 | SuperHandy Electric Snow Thrower Walk-Behind Blower Corded AC 120V 15A 18 x 10 Inch Clearing Path 25 Feet Throwing Distance 720 lbs/Min LED Headlights for Driveway Walking Path Yards |
|
| 10 | EWORK Corded Snow Shovel 11-Inch 1200W 10A Powerful Electric Snow Shovels, 6-Inch Clearing Depth, 23-Foot Max Throw Distance, Power Snow Blower for Driveway, Steps, Sidewalk, Porch |
|
Replacing a snow blower belt is a manageable DIY task for most homeowners. Before you begin, ensure the engine is off and the spark plug wire is disconnected to prevent accidental starting. Locate the belt cover, which is usually secured by a few bolts or clips. Once removed, you’ll gain access to the old belt and pulleys. Carefully note how the old belt is routed around the pulleys before removing it.
To remove the old belt, you may need to loosen a tensioner pulley or idler arm. Once the tension is released, the old belt should slide off easily. Install the new belt by routing it exactly as the old one was, ensuring it sits correctly in all pulley grooves. Re-tension any idler pulleys or arms, and then replace the belt cover. Reconnect the spark plug wire, and test your snow blower to ensure the new belt is functioning correctly.
Preventative Measures and Maintenance Tips
Extending the life of your snow blower belt involves a few simple preventative measures. Regularly inspect your belts for any signs of wear, especially before and after the snow season. Keep the belt area clean and free of debris, as dirt and ice can accelerate wear. Avoid overloading your snow blower by trying to clear excessively deep or heavy snow too quickly, as this puts undue strain on the belts.
- Always store your snow blower in a dry, protected area to prevent rust and material degradation.
- Check and adjust belt tension periodically according to your owner’s manual.
- Avoid sudden stops or starts when operating, which can shock the belt system.
- Ensure all pulleys are clean and spin freely, as seized pulleys can quickly damage a belt.
- Consider having a spare belt on hand, especially if you live in an area with heavy snowfall.
By following these tips and knowing when to replace your snow blower belt, you can ensure your machine remains a reliable workhorse throughout the winter months.

This was exactly what I needed! My snow blower was struggling with even light snow, and I couldn’t figure out why. Turns out the impeller’s rotation speed was much lower than it should be due to a worn belt. A quick replacement and it’s like new again, tackling everything winter throws at it.
I’ve always wondered about the lifespan of my snow blower belt. This guide really helped me understand that replacing it every 2-3 years is a good rule of thumb. I just swapped mine out after three seasons, and the difference in power is noticeable. No more slipping or reduced auger speed, even with heavy, wet snow.
Great advice on keeping my snow blower running smoothly. I had been experiencing a squealing sound when clearing deeper snow, and it turns out my belt was definitely slipping. Replaced it last weekend, and it’s back to full power. Wish I’d known about these signs sooner to avoid the hassle during a big storm.
While the info on signs of wear and tear was helpful, I found that my belt actually broke before I noticed any significant loss of power or slipping. Maybe it’s just my model, but I think it’s also important to consider the age of the machine itself. Still, good to know what to look for next time.